

STM32 DMX Receiver: Reading All 512 Channels with the IS3710
No Comments
Receiving DMX512 on an STM32 usually means building your own receiver around a UART: detect the break that starts every packet, count the slots, handle framing errors and store the channels as they arrive at 250 kbaud. It’s doable, but it’s timing-sensitive code that has nothing to do with the product you’re actually building.
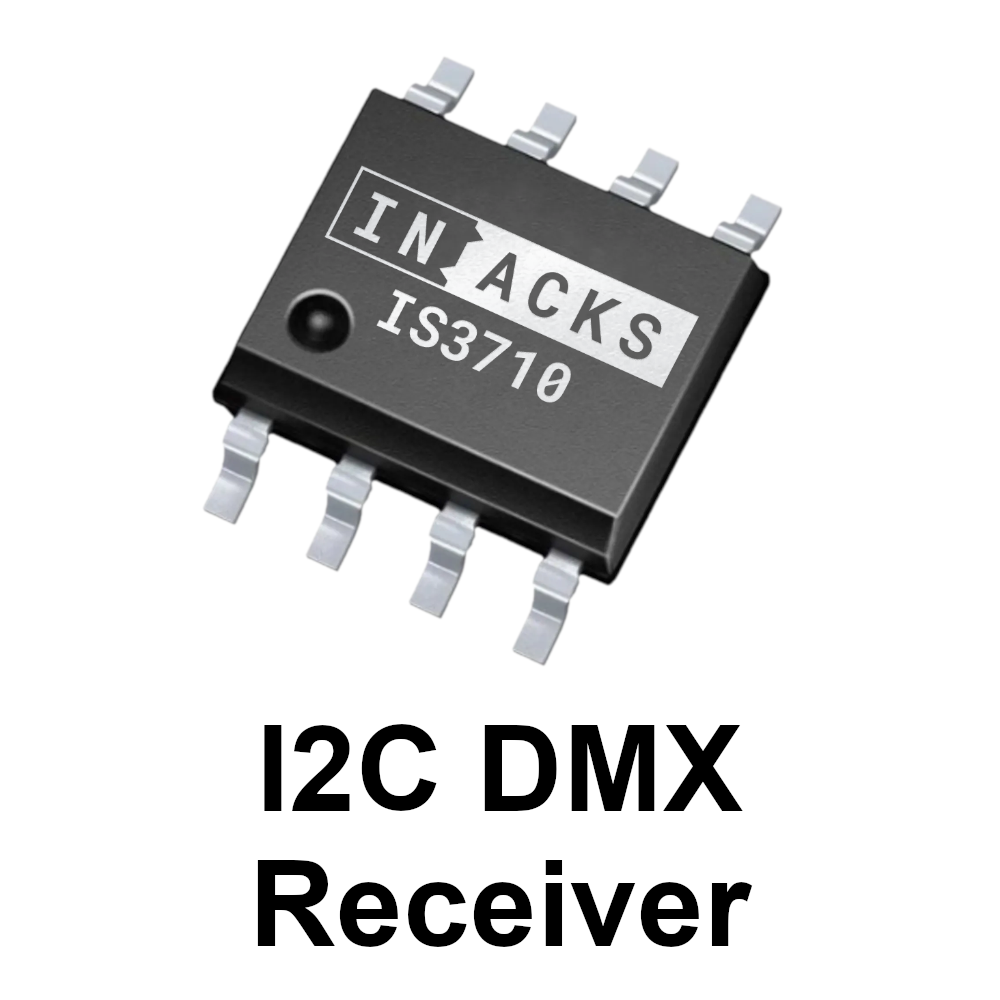
The IS3710 I2C DMX Receiver moves that whole job into a dedicated chip. It decodes the DMX512 stream, filters out non-DMX data and RDM packets, and exposes every channel as a register. For your STM32, the entire DMX universe is one I2C read away.
In this post, we walk through ISXMPL3710ex2, an STM32CubeIDE project that reads all 512 DMX channels from the IS3710 with a single HAL call. It runs on a NUCLEO-C071RB, from ST’s low-cost STM32C0 family, but the same approach works on any STM32 with an I2C peripheral.
What You Need
- NUCLEO-C071RB development board.
- Kappa3710Ard: the IS3710 evaluation board. It’s built as an Arduino shield, so it plugs straight into the Nucleo’s Arduino headers.
- A DMX controller: a lighting console, or a USB-DMX interface with DMX software, plus a DMX cable.
- STM32CubeIDE.
Setup
- On the Kappa3710Ard, set the I2C speed jumper to 1 MHz and the I2C voltage jumper to 3V3. The example runs the bus in Fast Mode Plus, and the IS3710’s speed setting must match the actual bus speed. The 3.3 V pull-ups match the STM32’s I/O levels.
- Plug the Kappa3710Ard onto the NUCLEO-C071RB and connect your DMX controller to one of its XLR connectors. The board’s DMX activity LED lets you confirm that DMX is arriving.
- Clone the example from GitHub and import it into STM32CubeIDE with File → Import → Existing Projects into Workspace.
- Build the project and run it on the Nucleo.
The example reads the DMX channels and stores them, but doesn’t display them. The section Seeing the Values below shows how to print them with a few lines of code.
How the Example Works
I2C at 1 MHz
The project uses I2C1 on PB8 (SCL) and PB9 (SDA), which are the Nucleo’s Arduino I2C pins, configured in CubeMX for Fast Mode Plus. The generated MX_I2C1_Init() sets the timing for the 48 MHz I2C clock and calls HAL_I2CEx_EnableFastModePlus(), so the bus setup needs no hand-written code.
One Call Reads the Whole Universe
Talking to the IS3710 is simple: write a 16-bit register address, then read as many consecutive registers as you need. That’s exactly what HAL_I2C_Mem_Read() does when you pass I2C_MEMADD_SIZE_16BIT, so no custom driver is needed. Here’s the heart of the example’s main loop (comments shortened):
// IS3710 I2C address. HAL expects the 8-bit format, so we shift it left by 1.
#define IS3710_I2C_ADDR     0x10 << 1

// Start at register 0 so that DMX channel 1 lands at index 1, and so on
#define STARTING_ADDRESS    0

// 513 registers: register 0 plus the 512 DMX channels
#define HOW_MANY_REGISTERS  513

// Timeout for the I2C read operation, in milliseconds
#define TIMEOUT             1000

uint8_t dmxChannel1, dmxChannel2, dmxChannel3;
uint8_t dmxBuffer[520]; // In this array we'll store the 512 DMX Channels

HAL_StatusTypeDef i2cReadOperationResult;

i2cReadOperationResult = HAL_I2C_Mem_Read(&hi2c1, IS3710_I2C_ADDR,
        STARTING_ADDRESS, I2C_MEMADD_SIZE_16BIT, dmxBuffer,
        HOW_MANY_REGISTERS, TIMEOUT);

// If the I2C peripheral encounters an error, reset it
if (i2cReadOperationResult != HAL_OK) {
    HAL_Delay(50);
    HAL_I2C_DeInit(&hi2c1);
    MX_I2C1_Init();
}

// Let's get the DMX Channels 1, 2 and 3 from the buffer
dmxChannel1 = dmxBuffer[1];
dmxChannel2 = dmxBuffer[2];
dmxChannel3 = dmxBuffer[3];
Three details are worth pointing out:
- The I2C address. The IS3710 answers at the 7-bit address 0x10, but STM32 HAL functions take the address already shifted left by one bit, hence
0x10 << 1. Forgetting that shift is a classic reason for an I2C device that “doesn’t respond” on an STM32. - The buffer alignment. DMX channels start at register 1, so the read starts at register 0. This way
dmxBuffer[1]is DMX channel 1,dmxBuffer[512]is channel 512, and the byte at index 0 is simply ignored. - Error recovery. If the read fails, for example because of a glitch on the bus, the code waits 50 ms, de-initializes the I2C peripheral and initializes it again. The next read starts from a clean state and the loop keeps running.
How Fast Is It?
At 1 MHz, each byte takes 9 clock cycles, so reading all 513 registers (plus the address bytes) takes roughly 5 ms. For comparison, a full 512-channel DMX frame takes about 23 ms to transmit at 250 kbaud, which caps a DMX universe at roughly 44 updates per second. In other words, the STM32 can fetch a complete copy of the universe several times per DMX frame. And if you only need a handful of channels, the read takes just tens of microseconds.
Seeing the Values
The example doesn’t print anything, but the Nucleo BSP included in the project already redirects printf() to the ST-LINK virtual COM port at 115200 baud. Add the standard header at the top of main.c:
/* USER CODE BEGIN Includes */
#include <stdio.h>
/* USER CODE END Includes */
Then print the channels right after they’re extracted from the buffer:
printf("CH1: %d  CH2: %d  CH3: %d\r\n", dmxChannel1, dmxChannel2, dmxChannel3);
HAL_Delay(100); // Slow the output down so it's readable
Open a serial terminal on the Nucleo’s virtual COM port at 115200 baud and move the faders on your controller: the values follow in real time. Both additions sit inside CubeMX’s USER CODE sections, so they survive if you regenerate the code.
Adapting the Example to Your Project
- Read only the channels you need. A fixture that uses 4 channels starting at DMX address 100 only needs a 4-register read starting at register 100. Just change
STARTING_ADDRESSandHOW_MANY_REGISTERS, keeping in mind that the first channel you read then lands atdmxBuffer[0]. - Don’t block.
HAL_I2C_Mem_Read()waits until the transfer is complete. If your application can’t spare those milliseconds, useHAL_I2C_Mem_Read_DMA()and let the DMA fill the buffer in the background. - Read when there’s new data. The IS3710’s INT pin signals every new DMX packet. On the Kappa3710Ard it’s routed to Arduino pin D2, so you can configure that pin as an EXTI input and read only when something new has arrived, instead of polling.
- Use the data after a good read. In a real product, act on
dmxBufferonly whenHAL_I2C_Mem_Read()returnsHAL_OK. - Change the bus speed. The IS3710 also runs at 100 kHz and 400 kHz. Change the I2C speed mode in CubeMX, regenerate the code and move the speed jumper to match.
Other Platforms
The register map is the same whatever you connect the IS3710 to, and there are ready-made examples for other platforms too:
- Arduino: ISXMPL3710ex1 drives the Kappa3710Ard’s RGB LED with DMX channels 1 to 3. We walk through it step by step in Arduino DMX Receiver: Controlling an RGB LED with the IS3710.
- Raspberry Pi: ISXMPL3710ex4, a Python example, together with the Kappa3710Rasp evaluation board.
- Your own PCB: the schematic example ISXMPL3710ex3. The IS3710 comes in a compact SO8N package and needs an external RS-485 receiver or transceiver.
If your fixture also has to answer RDM requests, take a look at the IS3720. And if you need to send DMX rather than receive it, check out the IS3715 I2C DMX Controller.
Conclusion
With the IS3710 on the bus, receiving DMX on an STM32 comes down to a single HAL_I2C_Mem_Read() call: the whole universe in about 5 ms, with no UART, no break detection and no timing-critical interrupt code.
The quickest way to try it is the Kappa3710Ard: plug it into your Nucleo board, import the project and move a fader. You’ll find the complete project on GitHub, and the datasheet on the IS3710 product page.